Publish an Offering & Override Display Name
Step-by-Step Instructions
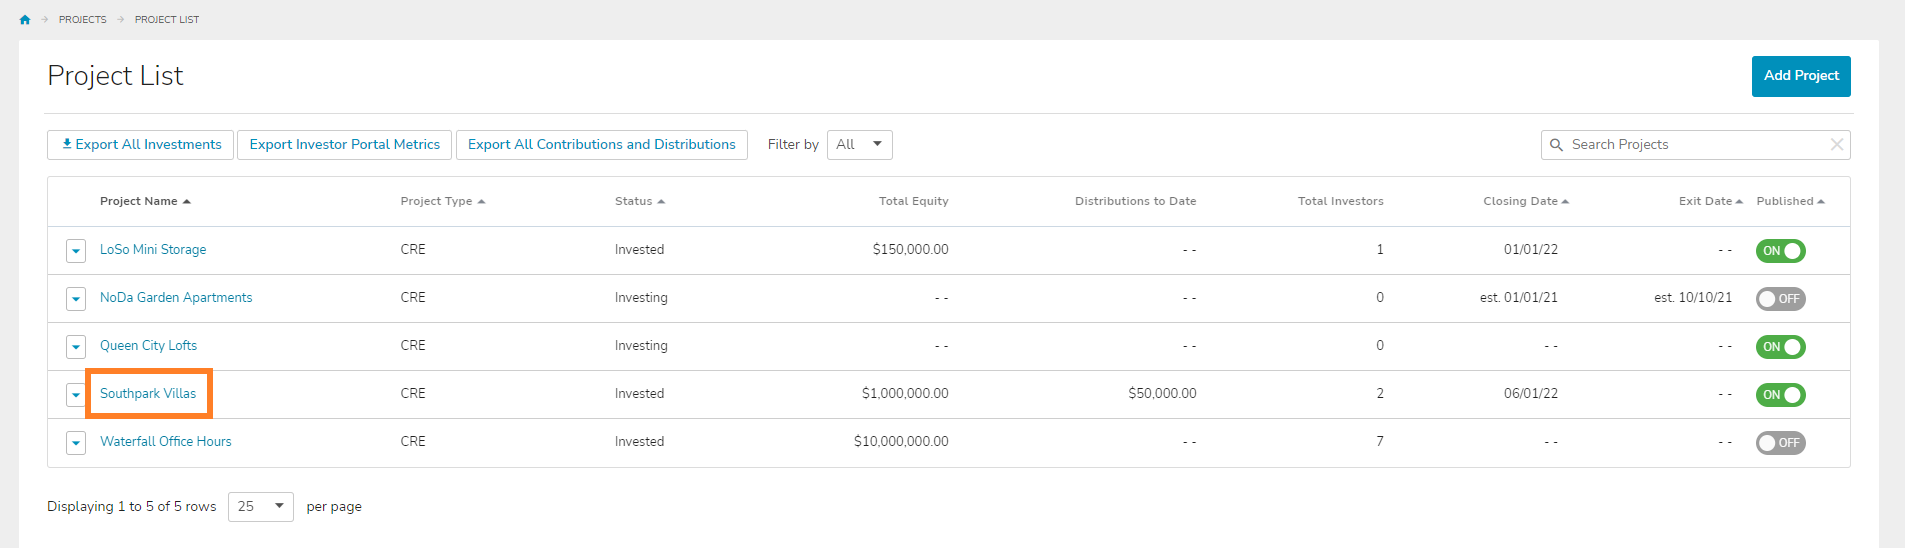
1. Open the "Project" Tab and select "Project List." Find your project, and select it to go to the Project Summary Page.
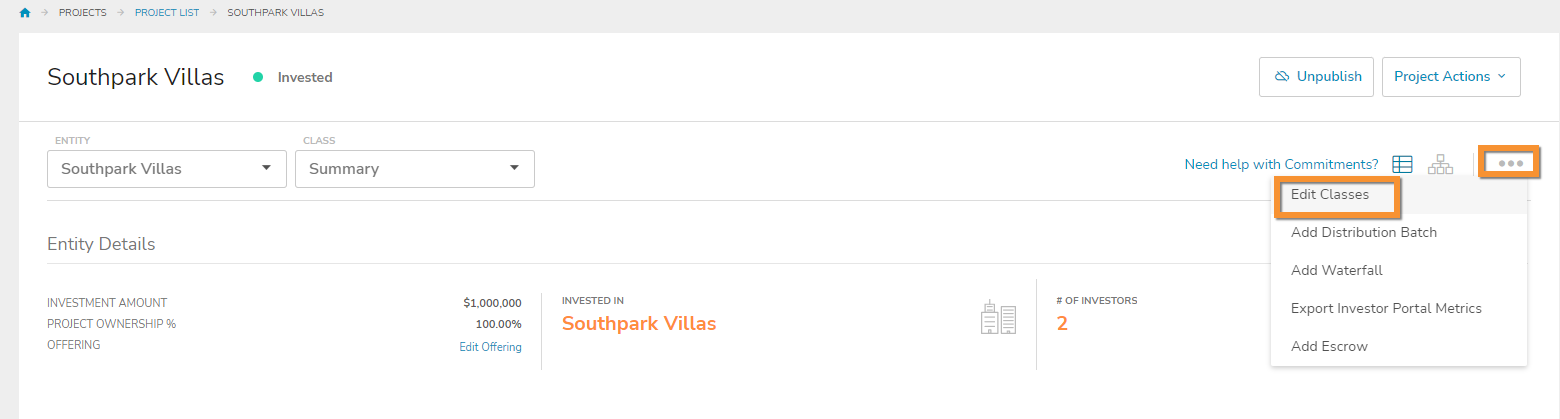
2. Select the class that you are working in. From here, you can select the three dots in the top right corner of this page, and choose "Edit Classes."
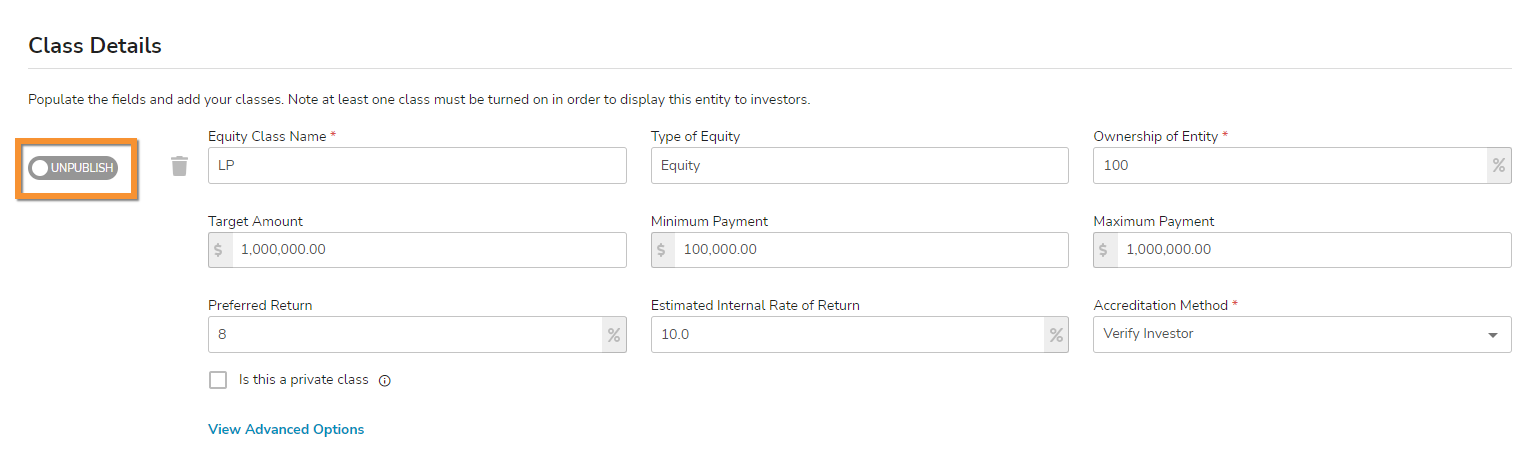
3. To publish a class, simply click on the grey slider icon on the left side of the corresponding class, which will slide it to the right, turning it green, publishing the class.
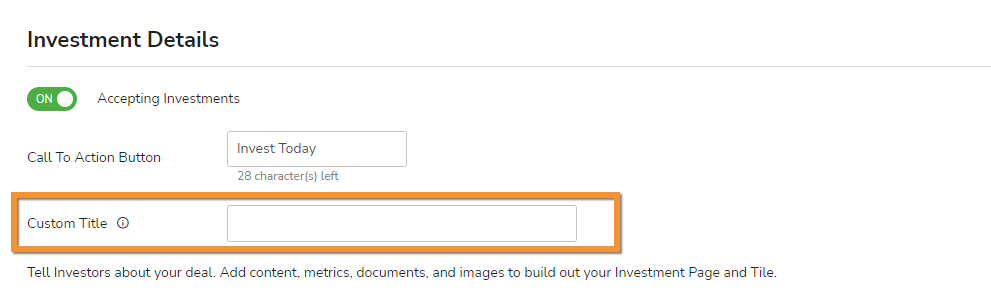
4. Once a class is published, you may scroll down slightly, and see a toggle labeled as "Accepting Investments." You can then turn on "Accepting Investments" if you would like to raise capital for this project, allowing investors to make investments in the project. Once these are completed, select "Save" at the bottom right corner of this menu.
Note: If you would like to override the display name of the project, you may do so here, under the "Investment Details" section. You should see a text box labeled as "Custom Title," in which you can rename the display name.
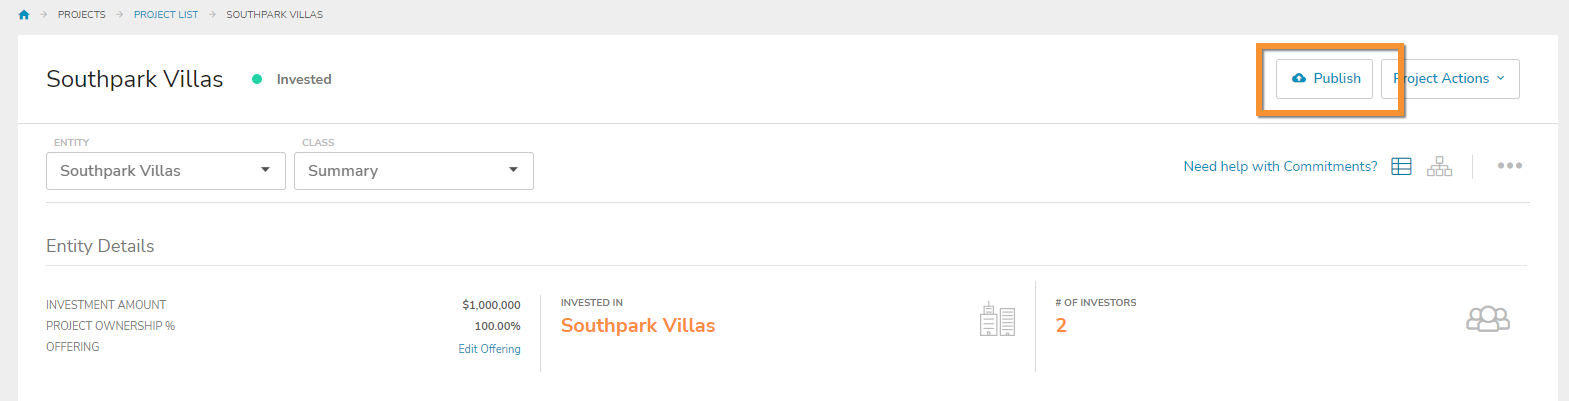
5. Lastly, you will need to navigate back to the project summary page, which you should be redirected to. At the top right of this page, you will see an option to publish the project. Select "Publish."
Additional Resources: