Wells Fargo Payment File
Overview
IMS is pleased to offer a consolidated file format to customers using the Wells Fargo Payment Manager within the CEO suite. This file layout allows IMS customers to export one file to process ACH, Wire, and Check payments in lieu of producing a NACHA file for ACH and then handling alternate methods manually.
Steps for Payment File Setup
Wells Fargo
- IMS clients with an existing Wells Fargo relationship and access to the CEO portal should reach out to their Sales Representative or Client Relationship Manager and let them know you want to update your Payment Manager profile to accommodate uploading a csv file for payments.
- Clients with an existing Wells Fargo relationship that don’t currently have access to the CEO portal will need discuss setup, pricing, etc. with their Sales representative.
- Wells Fargo will supply an implementation project manager to facilitate activating the appropriate settings for your account.
- Wells Fargo will have a list of questions on how you want to process the files, as well as items needed to ensure your checks are formatted properly.
- Wells Fargo will provide a sandbox environment where you can upload test files to ensure formatting is correct.
- Depending on a Client’s complexity, you should expect a 6-8 week timeframe from Wells Fargo to complete implementation and begin uploading live distribution files to the Payment Manager System for processing.
IMS Platform
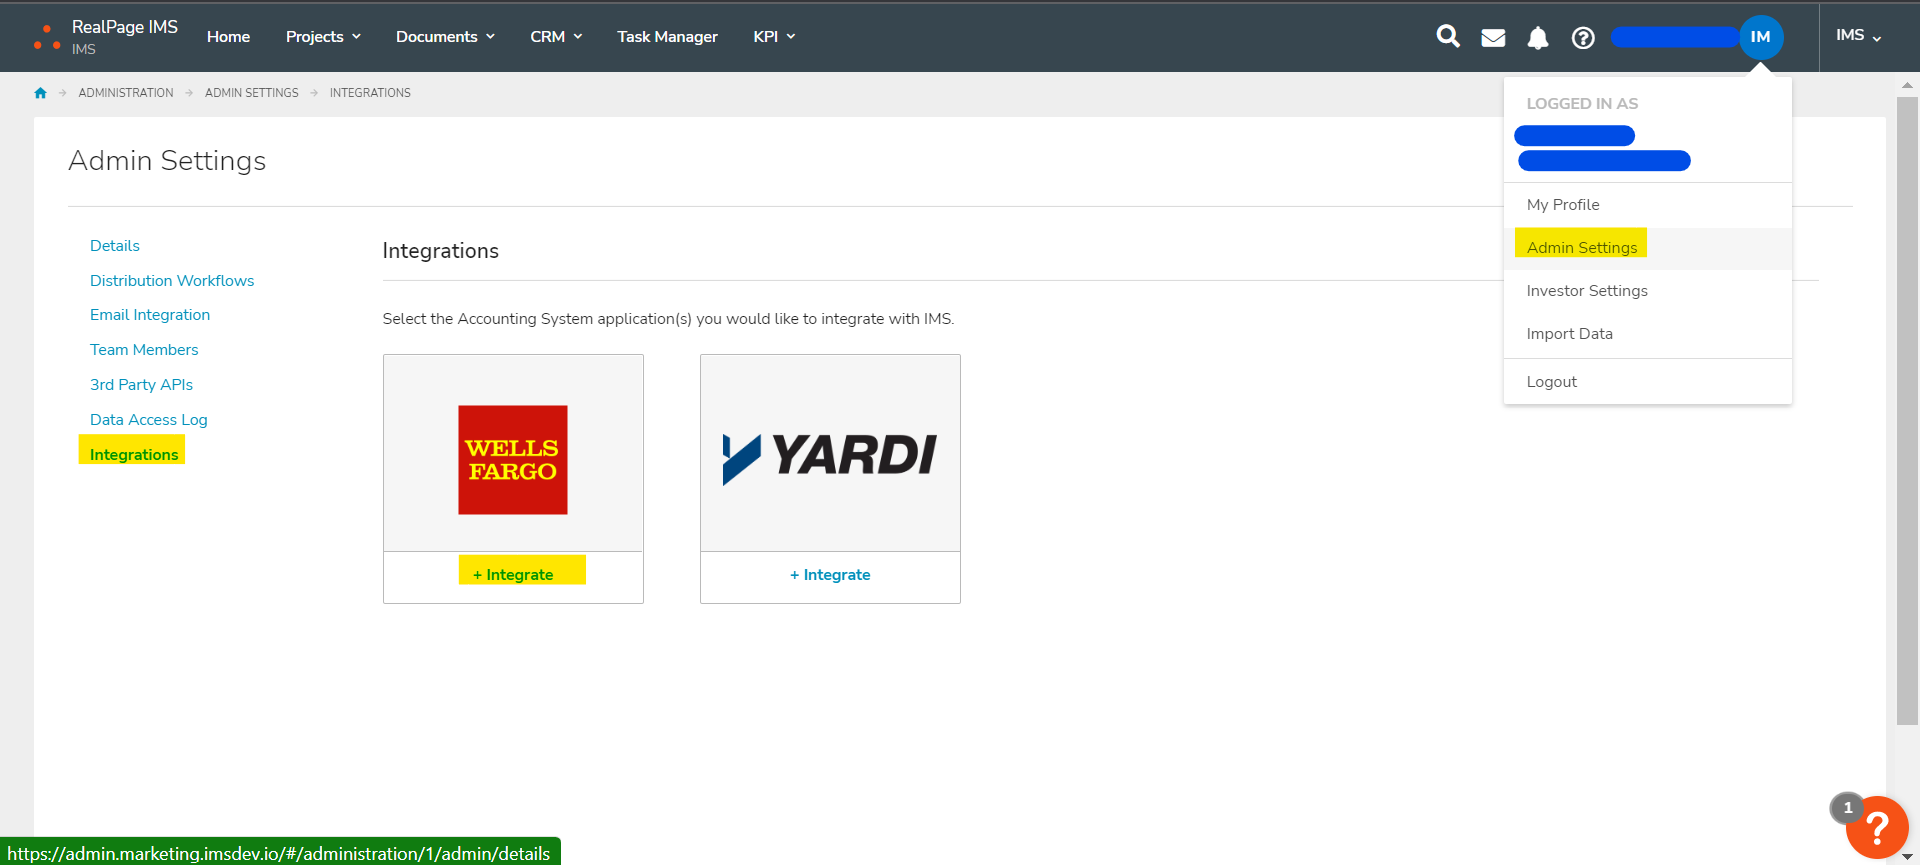
Step 1: Access the Wells Fargo integration via Admin Settings > Integrations > click the Wells Fargo Integrate button.
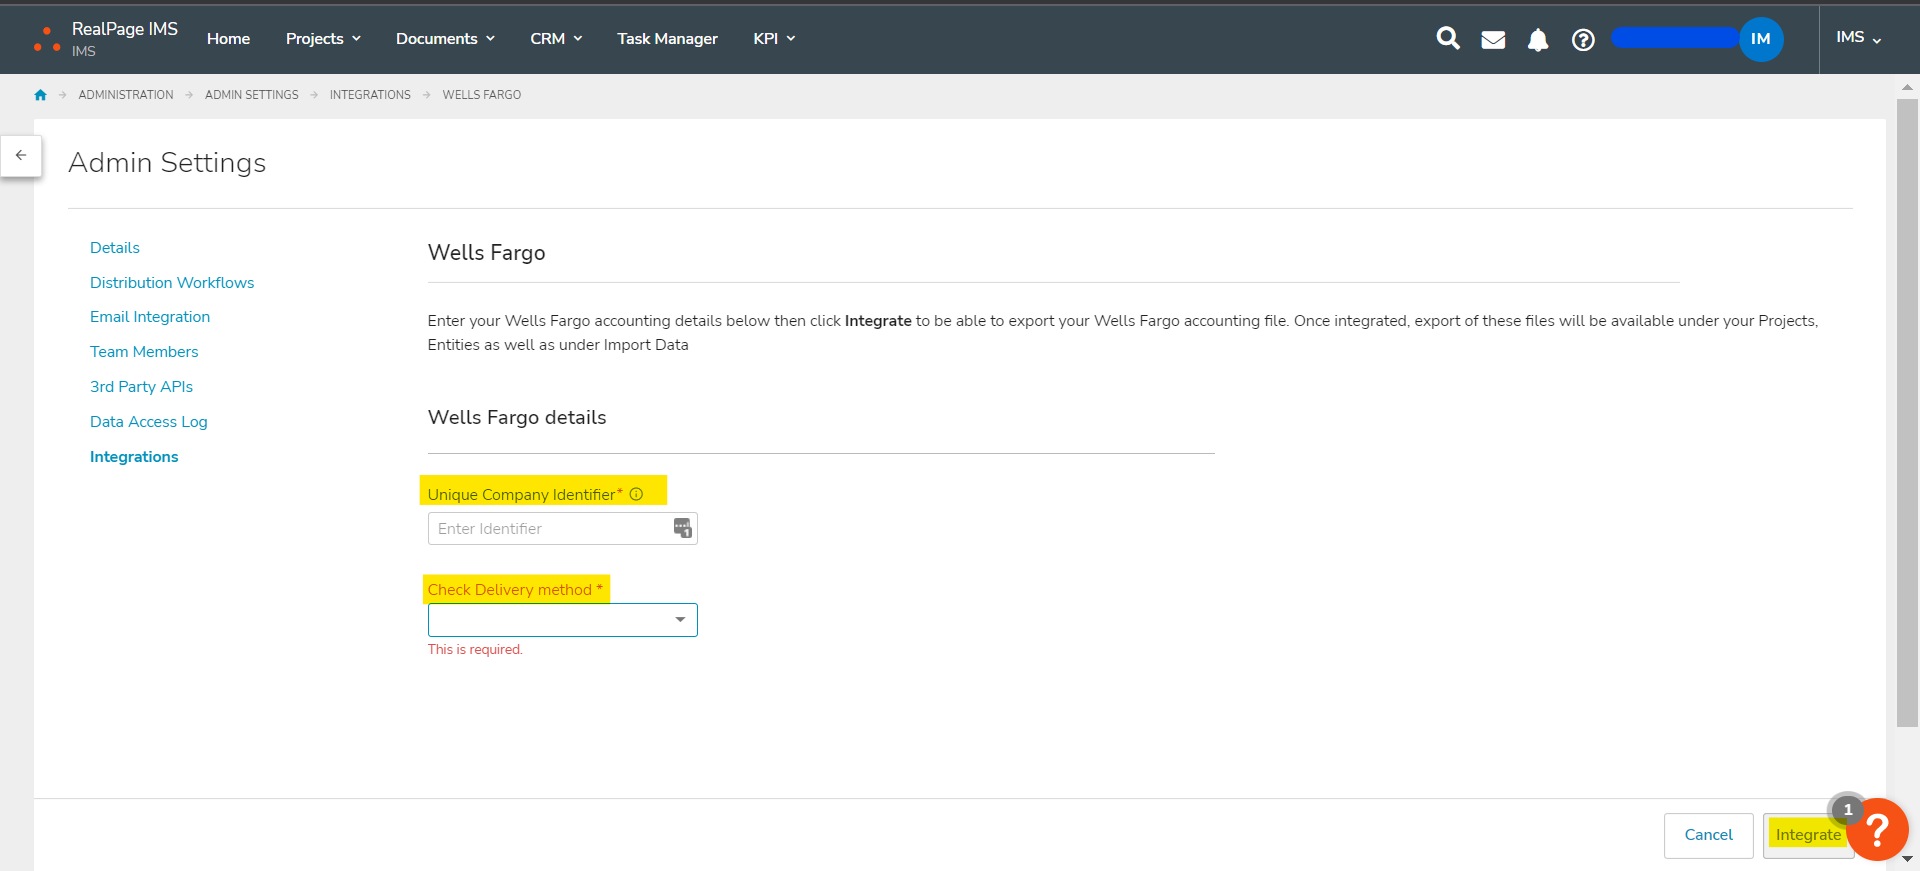
Step 2: Input your Unique Company Identifier for Wells Fargo, which will be displayed in the file name and is used as a validation tool by Wells Fargo when submitting the file.
Step 3: Select your Check Delivery Method that is supported by Wells Fargo. Click Integrate.
Step 4: Have an authorized user in your firm contact Customer Success to add any users that require access (this requires sensitive data access since the file includes unencrypted bank info and access should be handled accordingly).
Step 5: Review your CRM to ensure all investors that will receive payments have a payment method of Check, ACH, or Wire selected (use the Export Banking/Tax Information option on the Contacts tab to get a quick snapshot of every profile and their selected payment preference or lack thereof or use Advanced Search to look for different payment types).
Step 6: Review any users receiving checks to ensure their check mailing address is their primary address in CRM.
Step 7: Ensure that any investors receiving ACH or Wires have a valid bank name, address, account number, and ABA loaded
Step 8: Ensure any of your internal entities that are issuing payments have a valid bank account number and ABA loaded
Reminder: files can be created within a distribution detail batch (at the Entity or Project level), or within the Import Data section under the Pending or Archived tab. Only users with sensitive data access will see option to generate these files.