Adding Rules
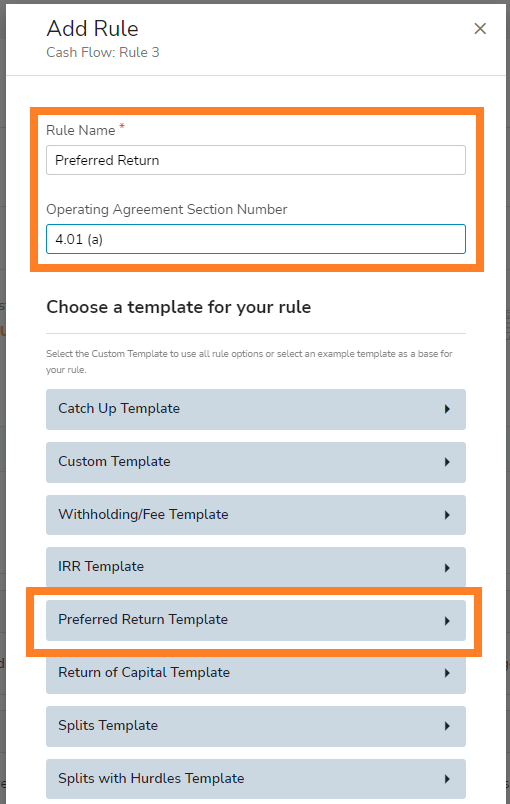
Once you create the waterfall, you will now be prompted to add your first rule that is applicable to this Waterfall. Name your rule and add your Operating Agreement Section description (if desired). Select the template that best describes the waterfall calculation you need to perform. For a detailed description of each of the rule templates and how specific fields impact calculations, click here.
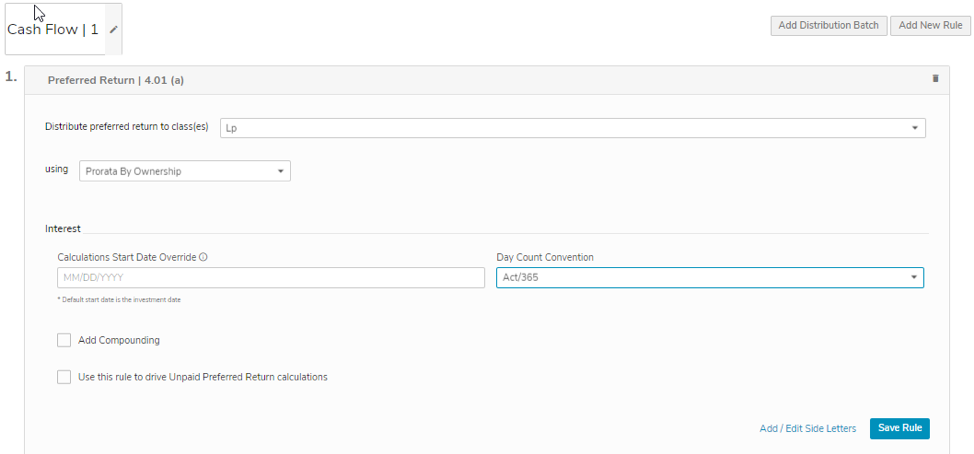
Once you select your rule template, the appropriate inputs will be revealed. Input your values for the template and select Save Rule:
Your rule will be saved and you will see a summary of your first rule in a narrative format. You can open the rule to edit your parameters, edit the name of the rule, or delete the rule altogether. To add your next rule in the waterfall, select Add New Rule:

You will be prompted to name a new rule and select the appropriate template. In this example, we will select the Return of Capital template:
Select the appropriate inputs and save your rule: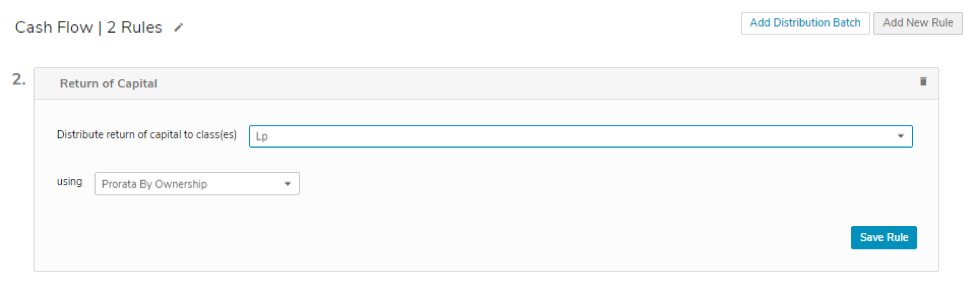
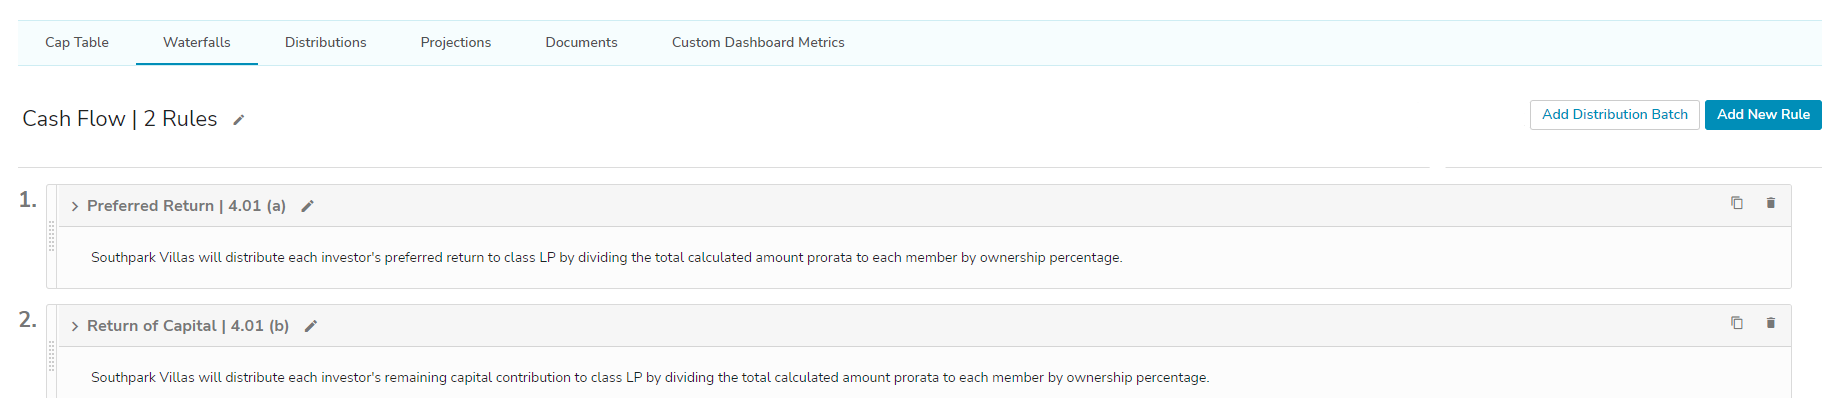
Now you will see your two rules in the order they will run when distributing funds through the waterfall: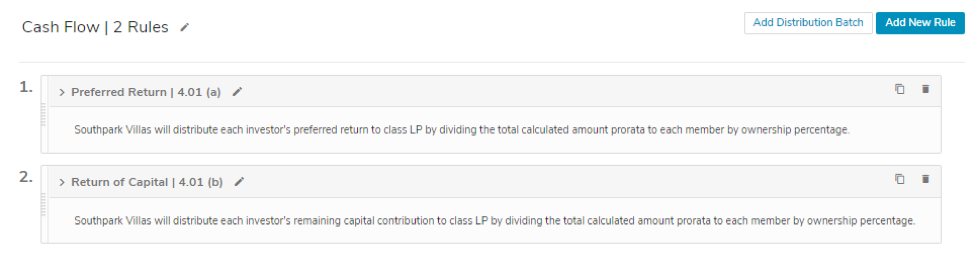
Continue adding rules to your waterfall until you have all of your waterfall scenarios built to distribute cash flow. In the event you add the rules in the incorrect order, you can drag and drop the rules with your mouse without deleting and re-adding.
You can have multiple waterfalls for an Entity. If you need to add additional waterfalls, you can select the Waterfall header tab and Add Waterfall to create another.

When you select the Waterfall Name, you will find a list of all Waterfall rulesets for the Entity on this page. From here, you can select Add Distribution Batch or Add New Rule to keep building out your waterfall:
Once you are done adding Waterfall rulesets for a given Entity, you can move to the next Entity. You can navigate to the Waterfall tab for the next Entity you want to work on by selecting the Entity Name drop-down. You can always exit and return via the Project Summary or Home tab to continue editing and adding Waterfall rulesets.
If your Project is a single-tier structure, then you are done and can begin running distribution calculations. To see instructions on how to run and manage distributions, click here. We will now continue with building a Project Level Waterfall which allows you to run a series of rulesets across entities in one setup.