Aligning and Stacking Fields, Grouping Checkboxes, Placing Radio Groups
Please note that your view may vary from the screenshots below depending on the Signer Type selection that you chose.
As you begin coding your eSignature Template, you may have multiple fields, checkboxes or radio buttons to align, stack or group. Please see below for more detail on each of these processes.
Aligning and Stacking Fields
- Place the fields you'd like to stack onto the document.
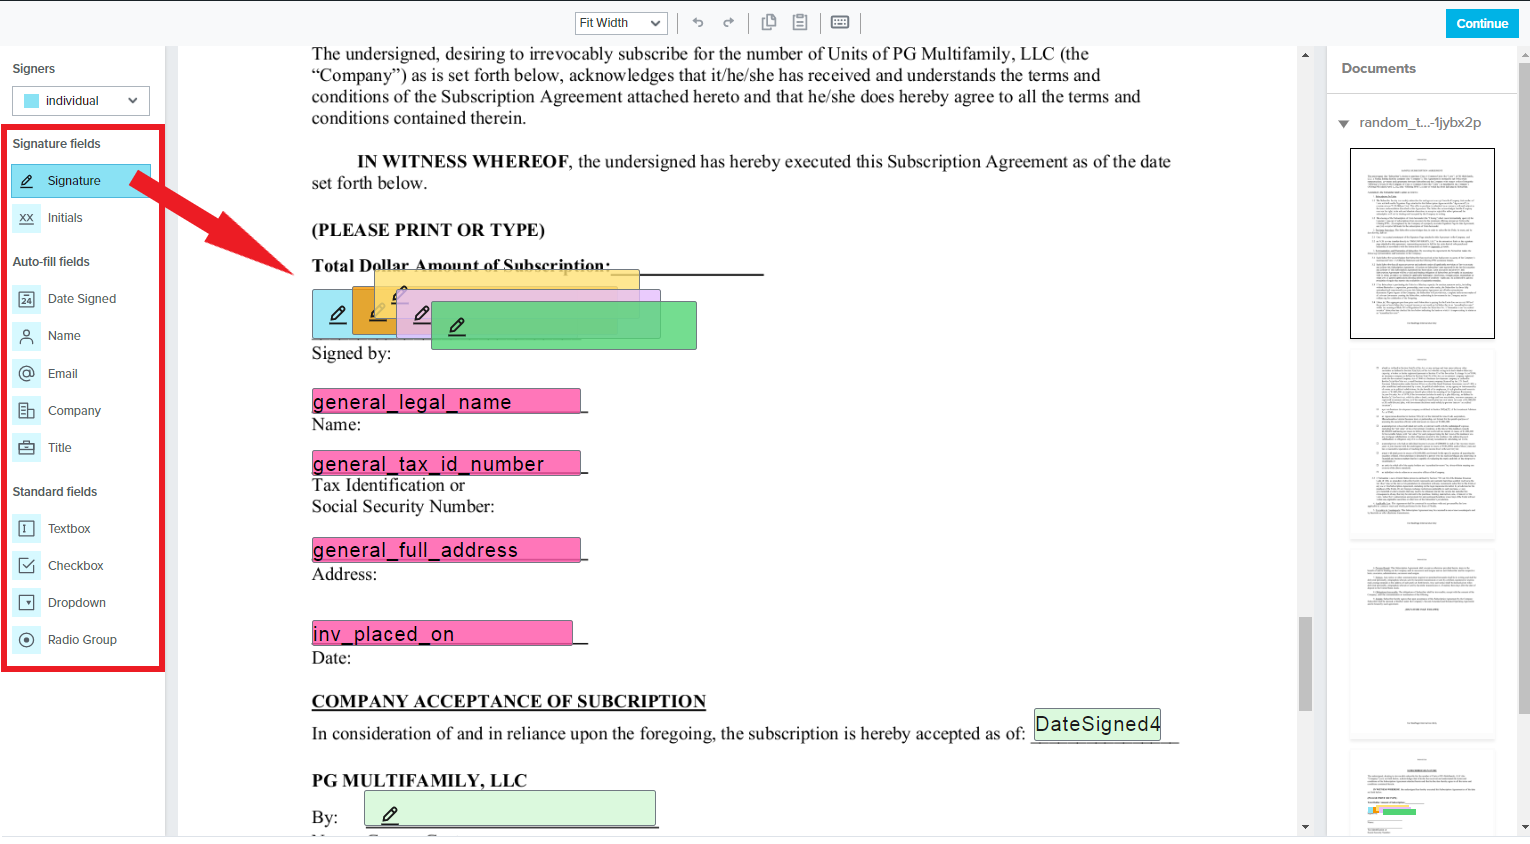
- Next, click and drag your mouse around the fields you wish to align and stack, and then choose to align them either to the top or to the bottom.
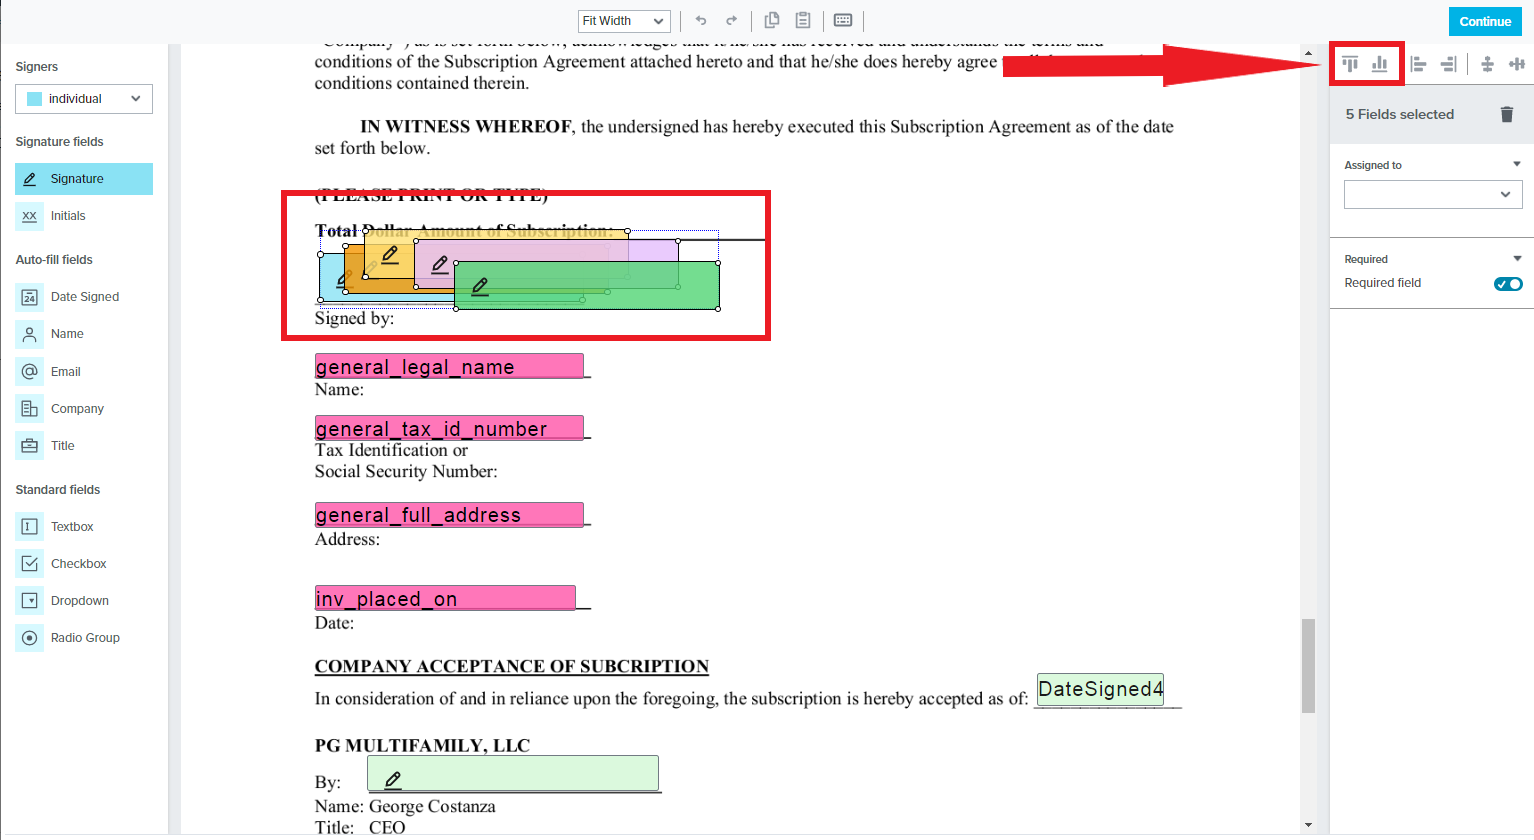
- Once the fields are aligned either to the top or to the bottom, drag the fields to the correct placement on the document, if necessary. (Please note the fields will need to be moved to their final location before the final alignment/stacking can occur.)
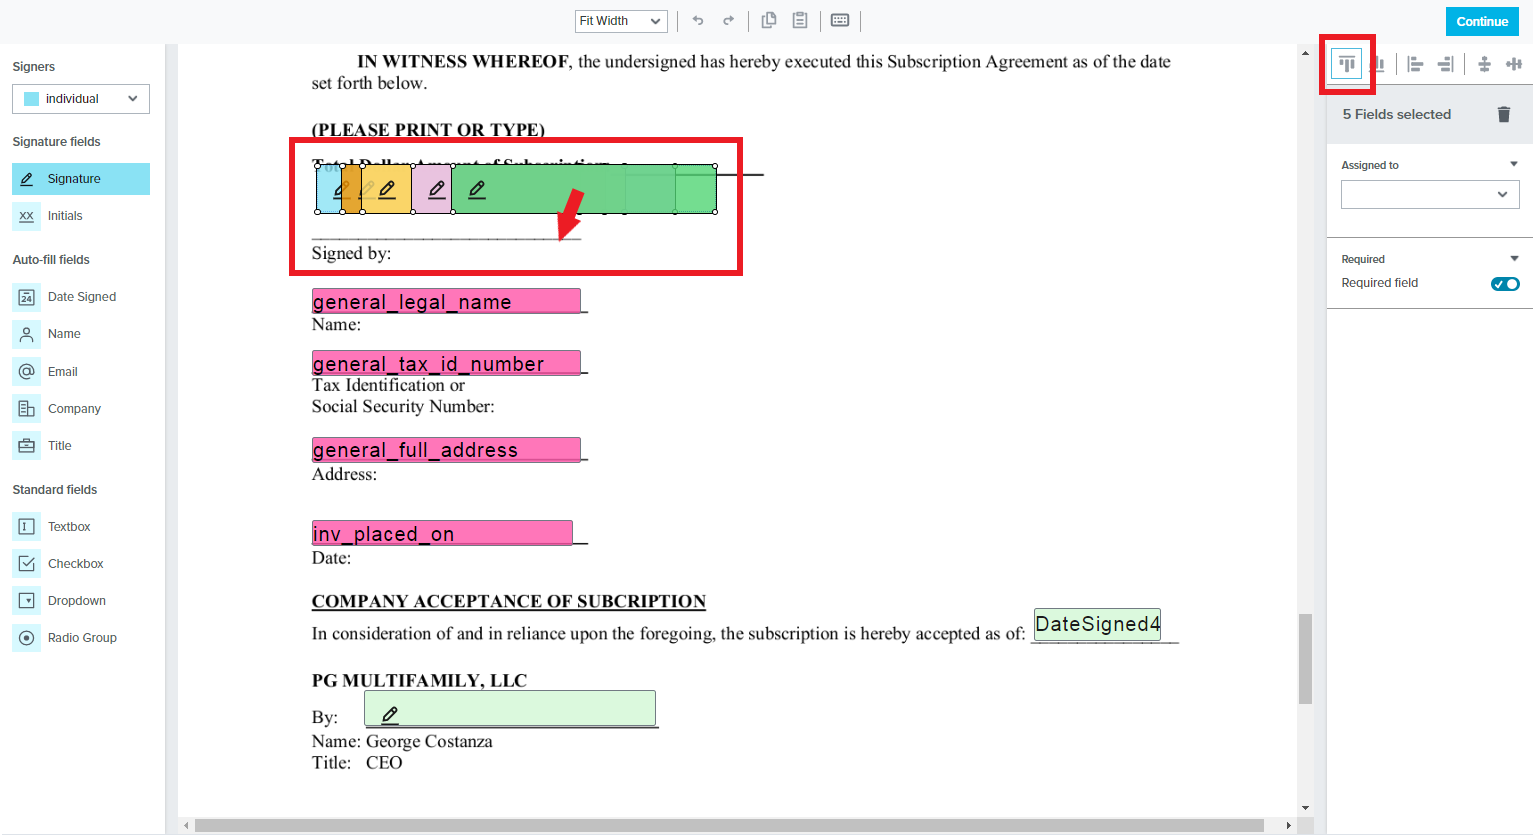
- After the fields are in the appropriate place within the document, they are ready to be stacked together. Click and drag your mouse around the fields and align them either to the left or the right.
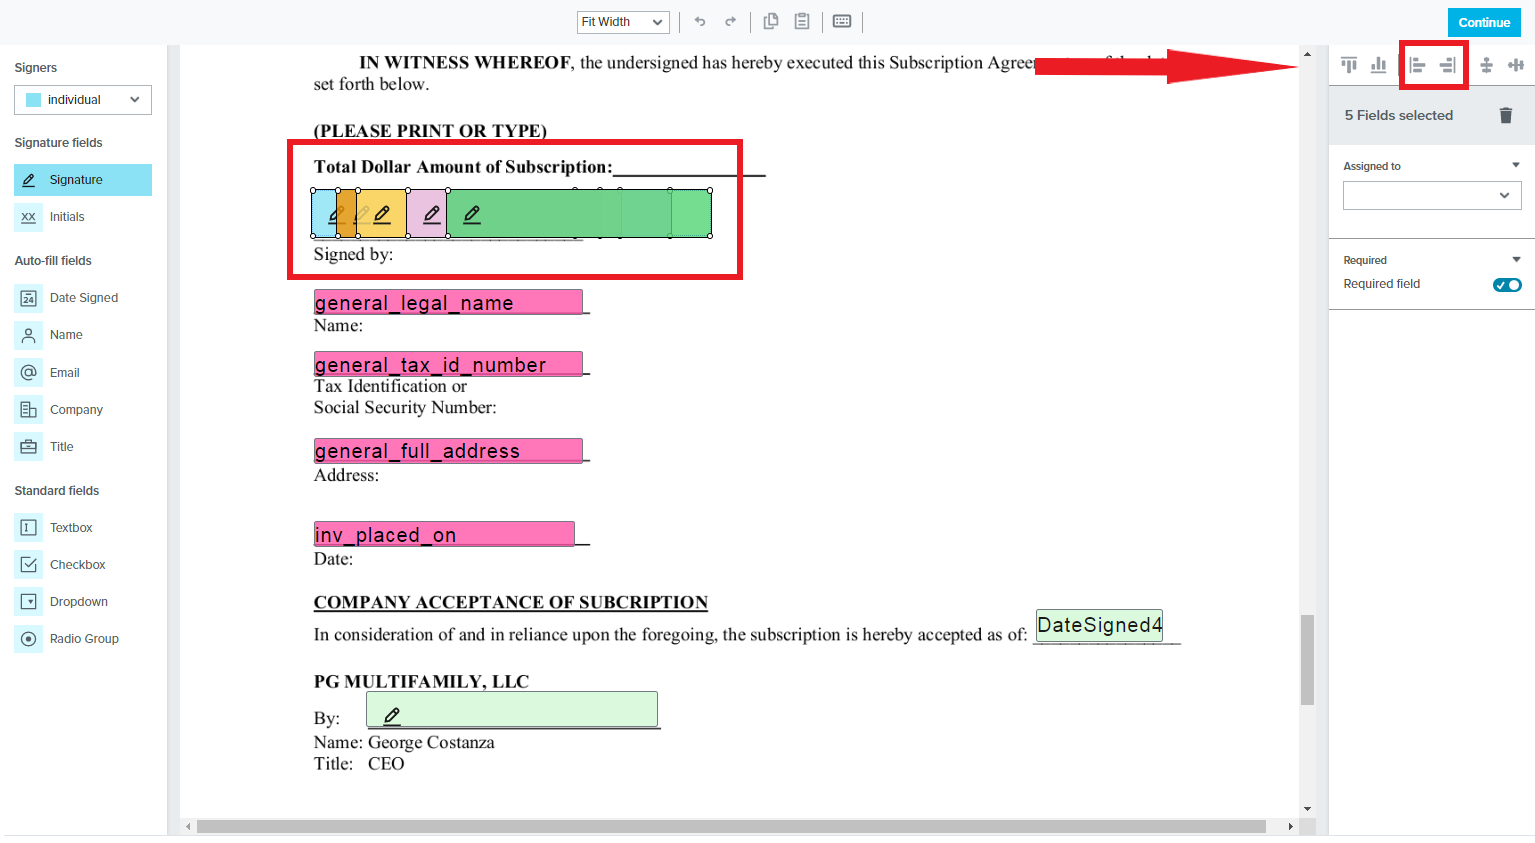
5. Now your fields are aligned and stacked! 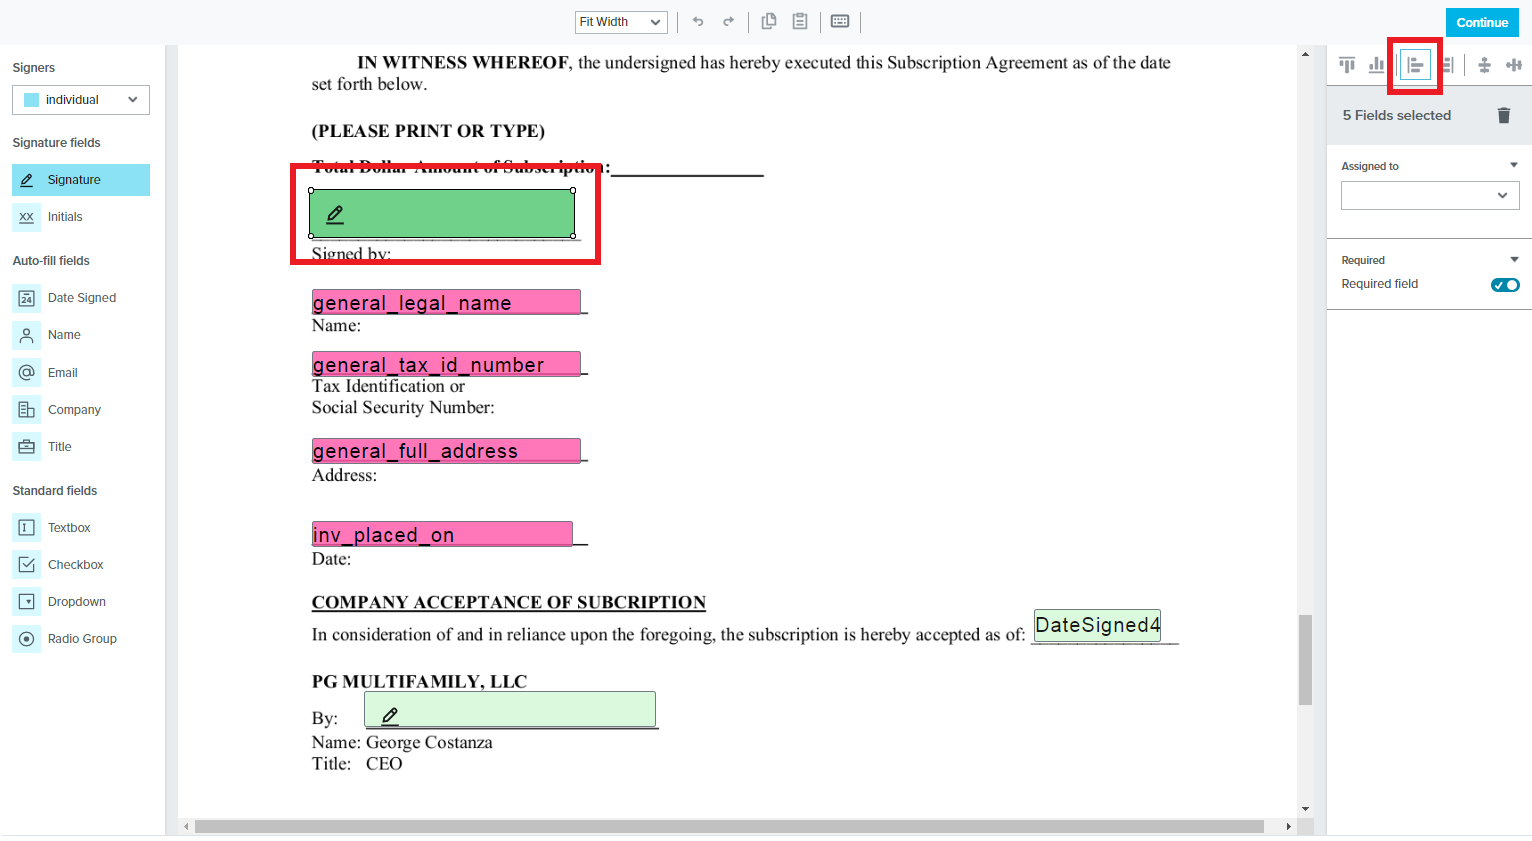
Aligning and Grouping Checkboxes
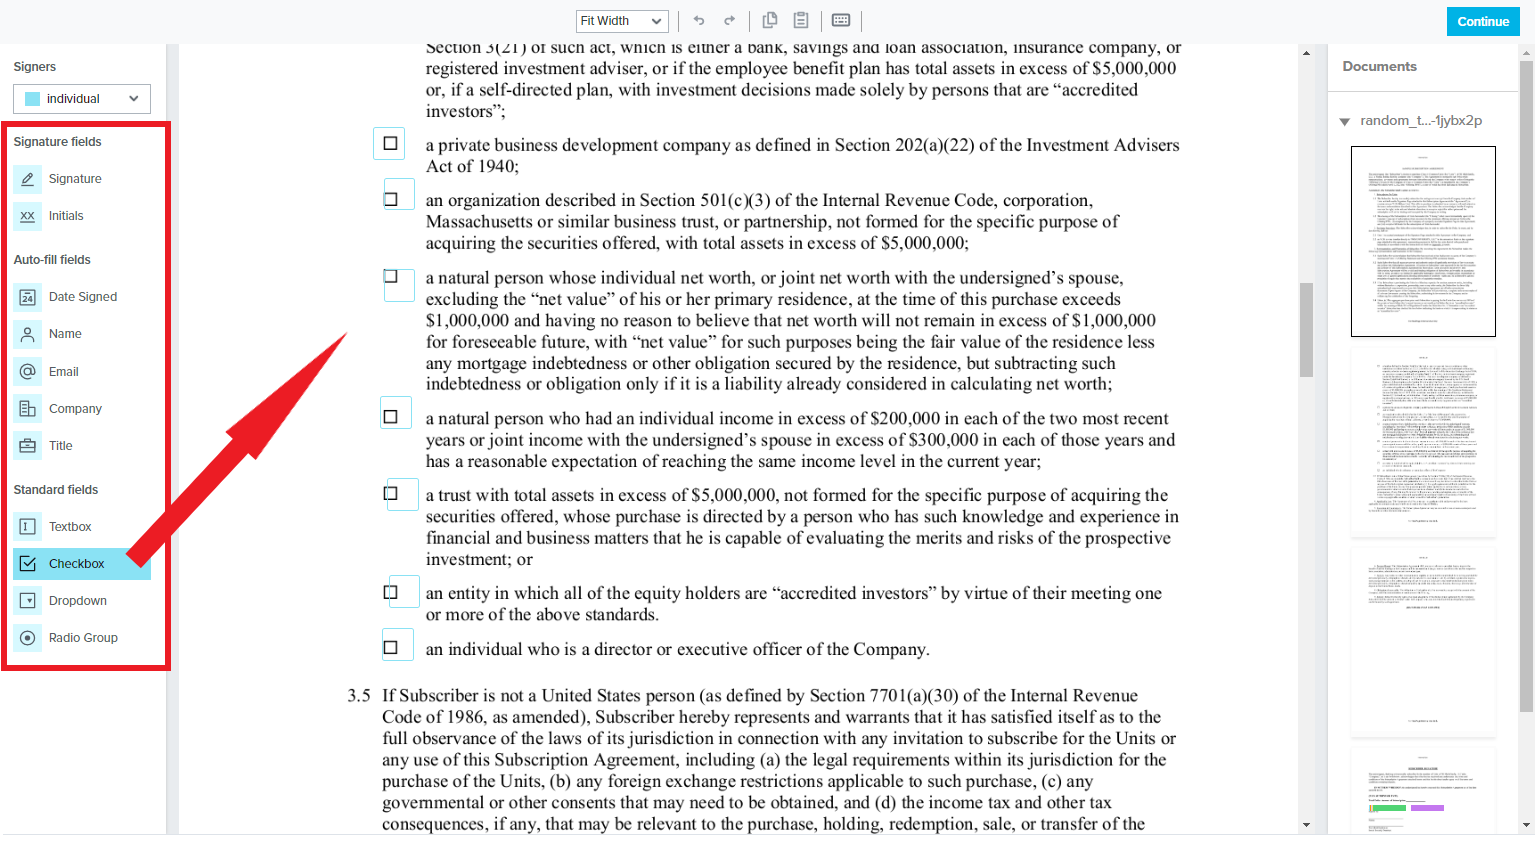
- Select the type of field you need to place on the document.
- Place the fields you'd like to align onto the document.
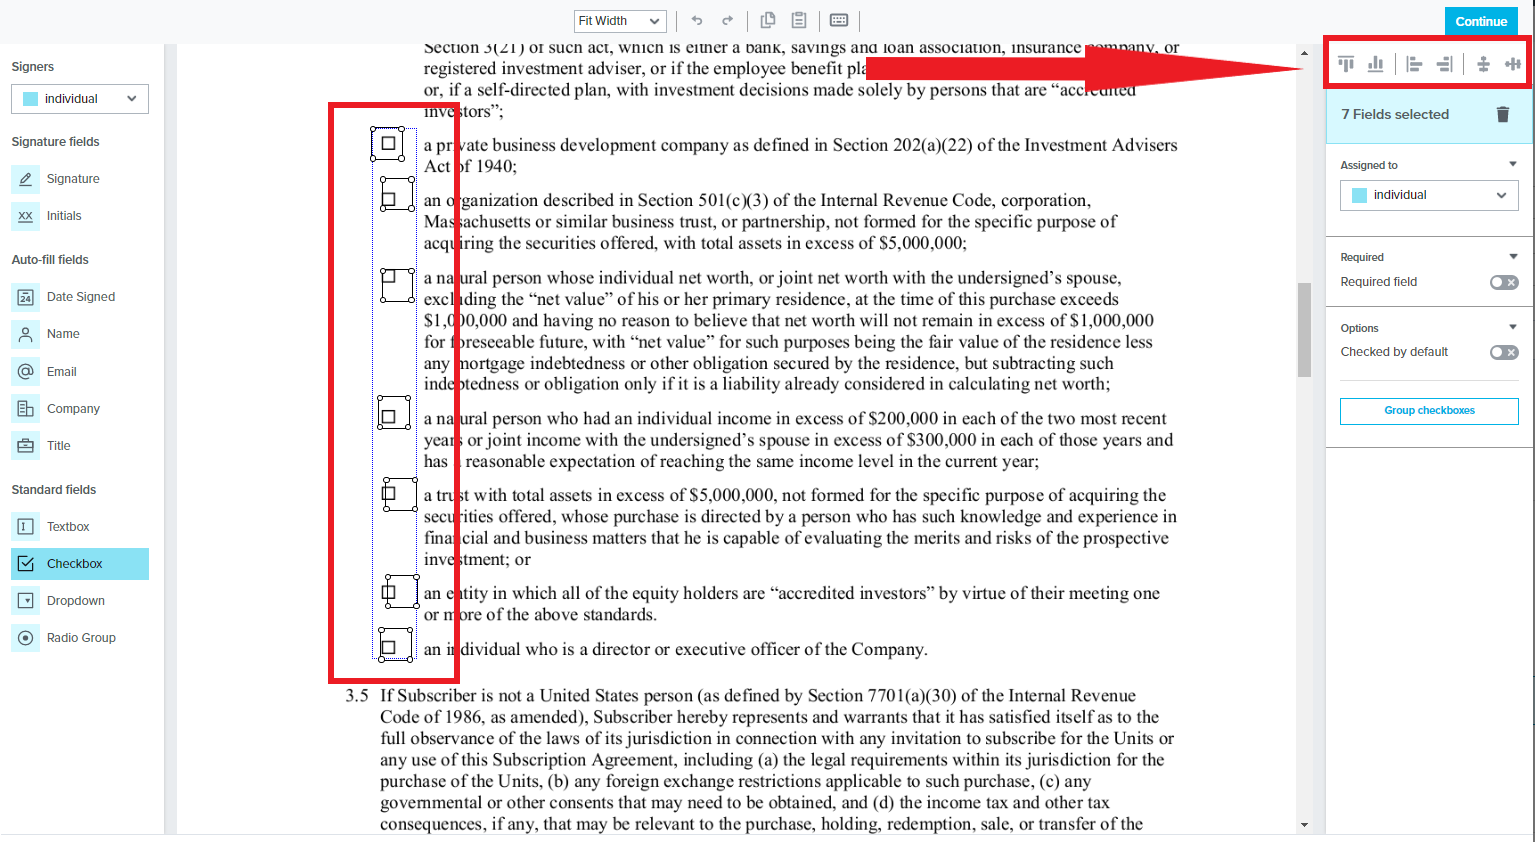
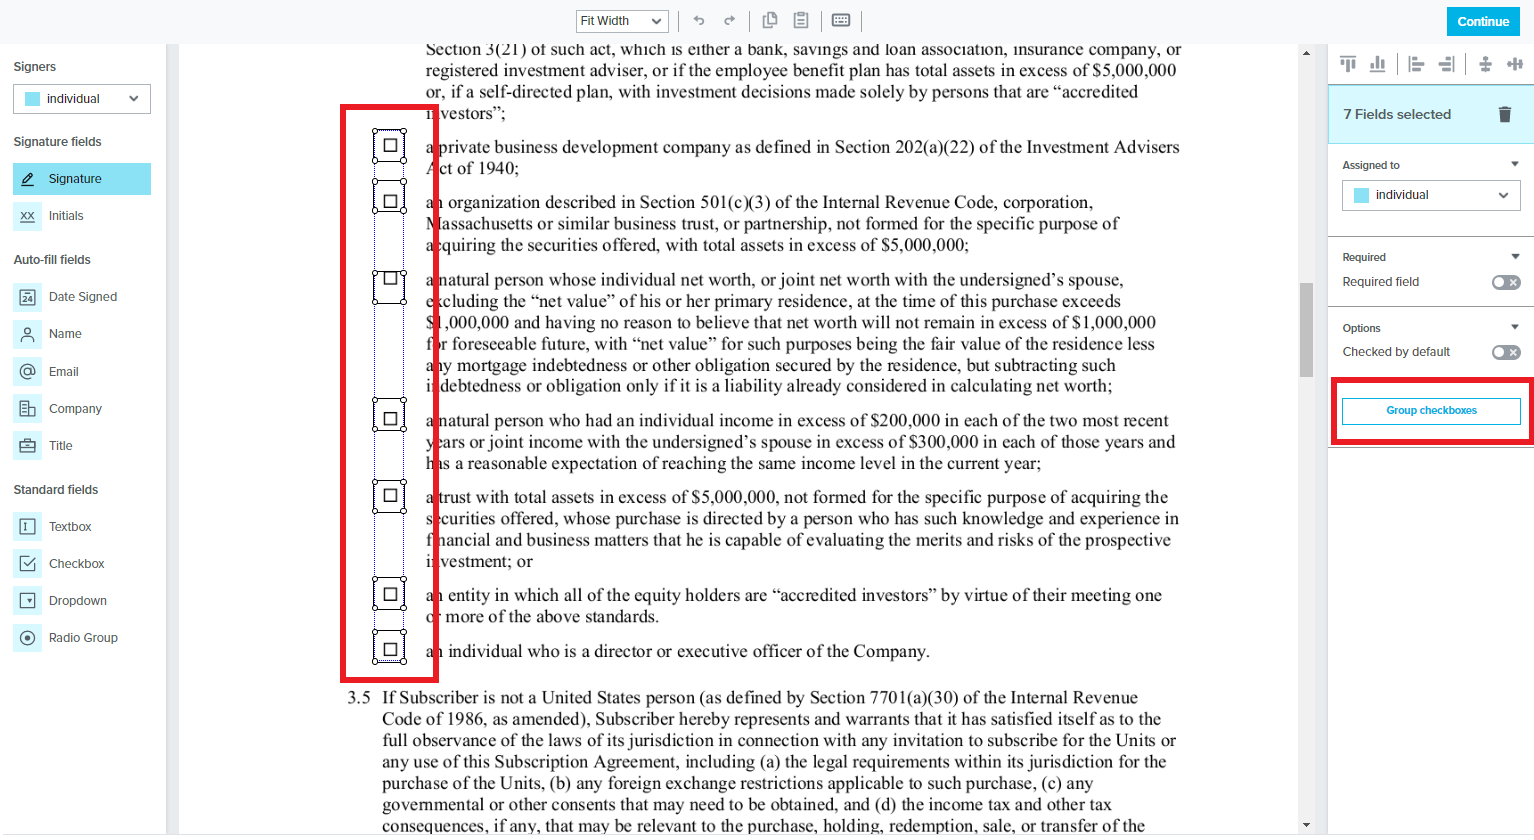
- Click and drag your mouse around the fields you want to align in order to select them.
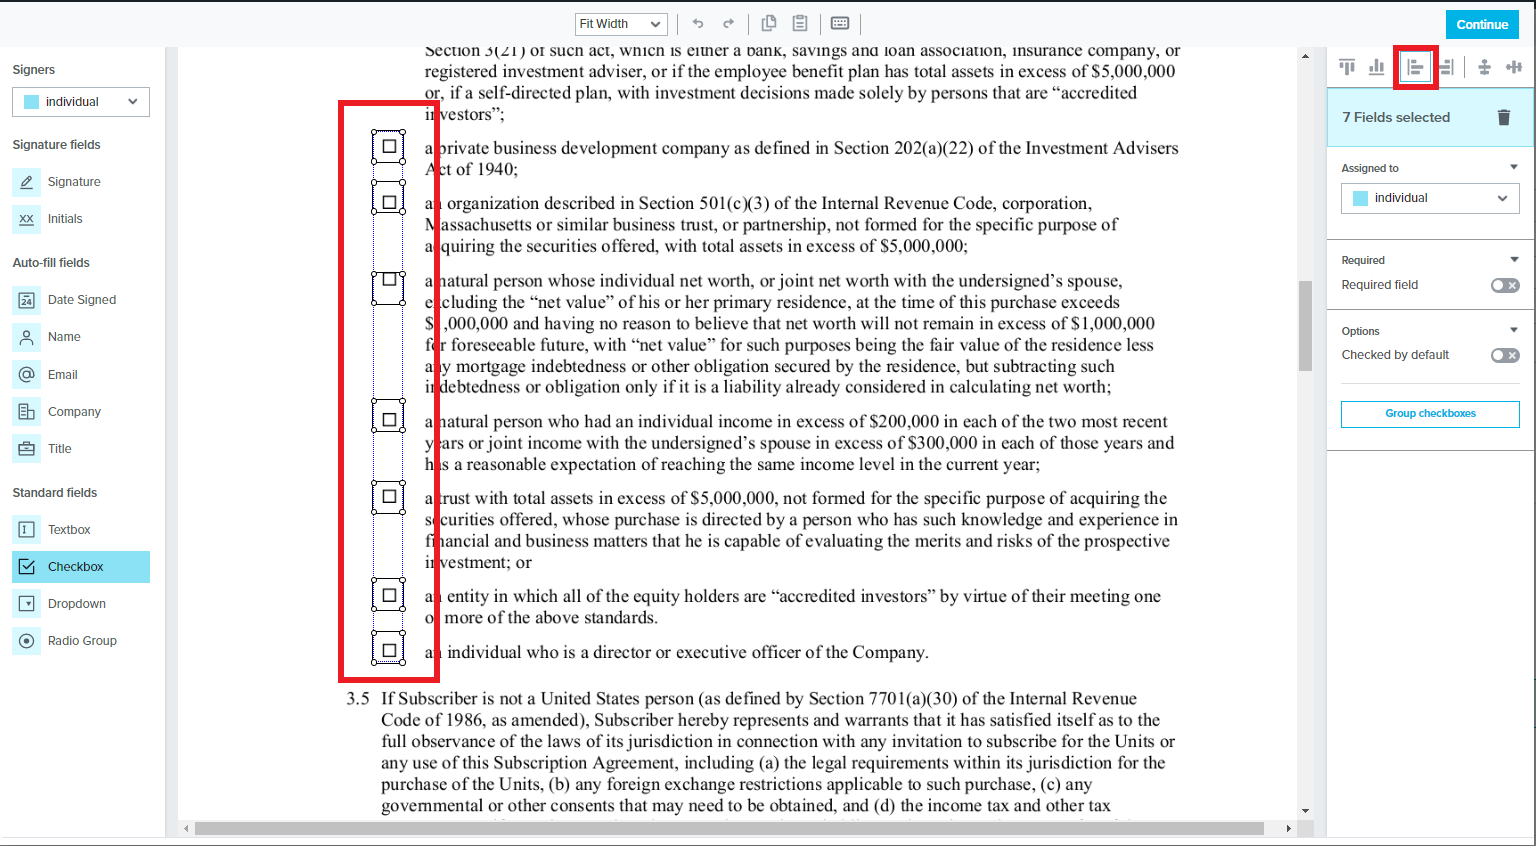
- Then, select the alignment orientation you'd like to use.
- Now your fields are aligned!
- To group the checkboxes, click and drag your mouse around the checkboxes you wish to group and select the "Group checkboxes" button on the right hand sidebar.
- From the right hand sidebar, you can choose the minimum and maximum amount of checkboxes your investor needs to check in this group. (If you decide not to require a minimum/maximum, you can select "Ungroup checkboxes")
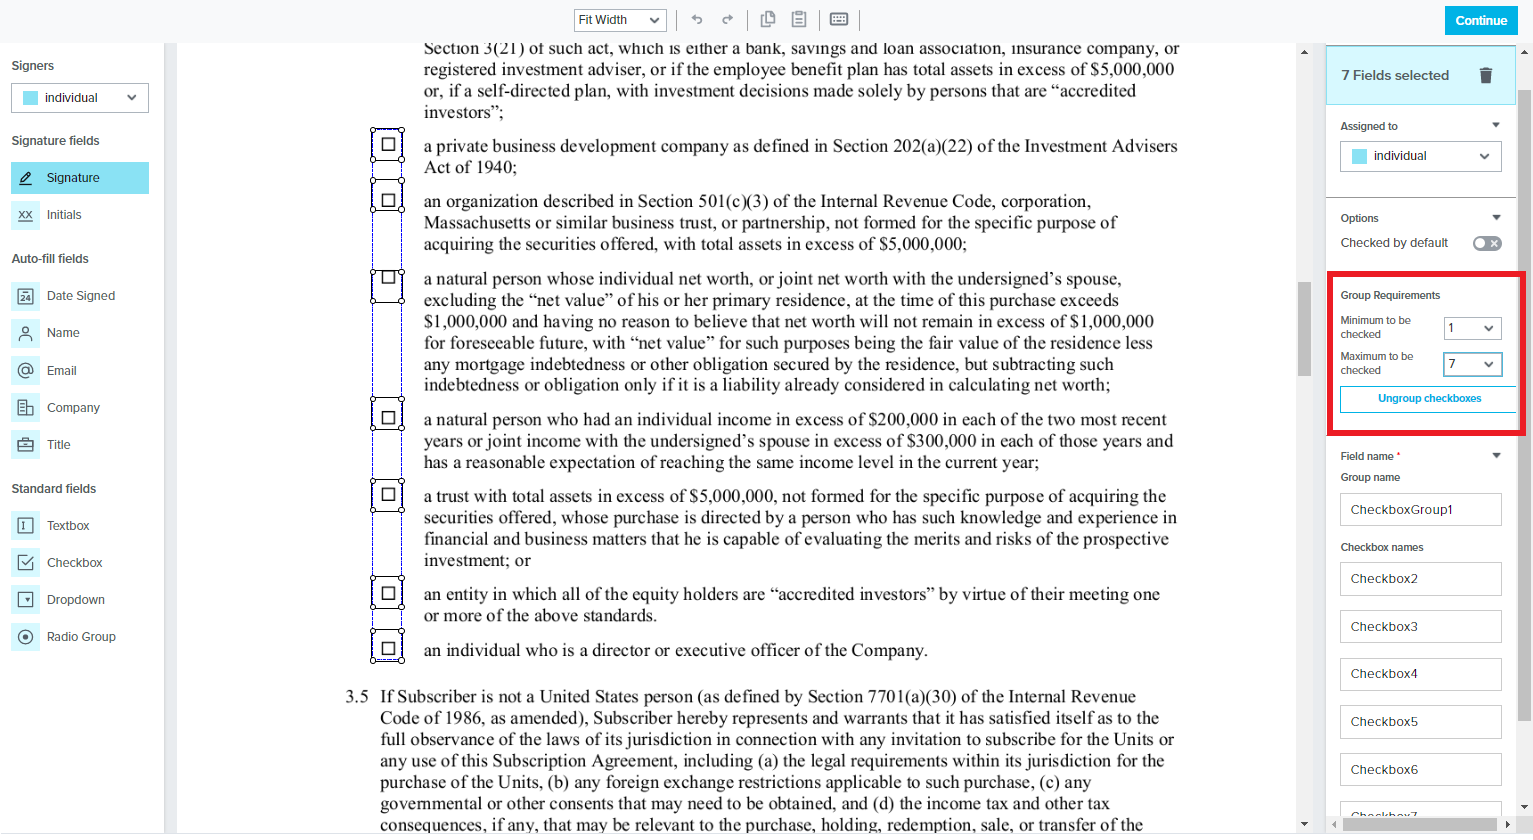
- Now your checkboxes are grouped!
Tip: You may also group checkboxes to specific profile types, using the dropdown shown below, while you have all of your checkboxes selected. Selecting a specific profile type will allow any signers who have the selected profile type to use these checkboxes.
Radio Groups
Radio Groups will automatically be vertically grouped in pairs of two, with the ability to select the plus (+) button to add as many options as the section requires. If your document requires horizontal placement of radio buttons, simply move the lower button to the desired location and add additional buttons, if necessary. It's important to note that Radio Groups should only be used when the signer needs to choose one option from the group. If you require additional functionality, we recommend grouping checkboxes to set minimum and maximum check parameters, as previously shown above. New Radio Groups will be optional by default - you can choose for the Radio Group to be required by toggling on "Required group" on the right-hand sidebar.