Running Distributions with Waterfall
Once you've set up your waterfall rules, you're ready to run a distribution! We've included a video as well as written step-by-step instructions on this process below.
To check the Distribution Settings please follow the steps below:
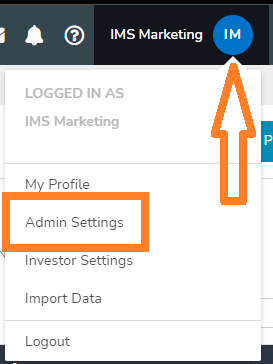
1. In the top right corner, select your name to bring up your My Profile and Admin Settings:
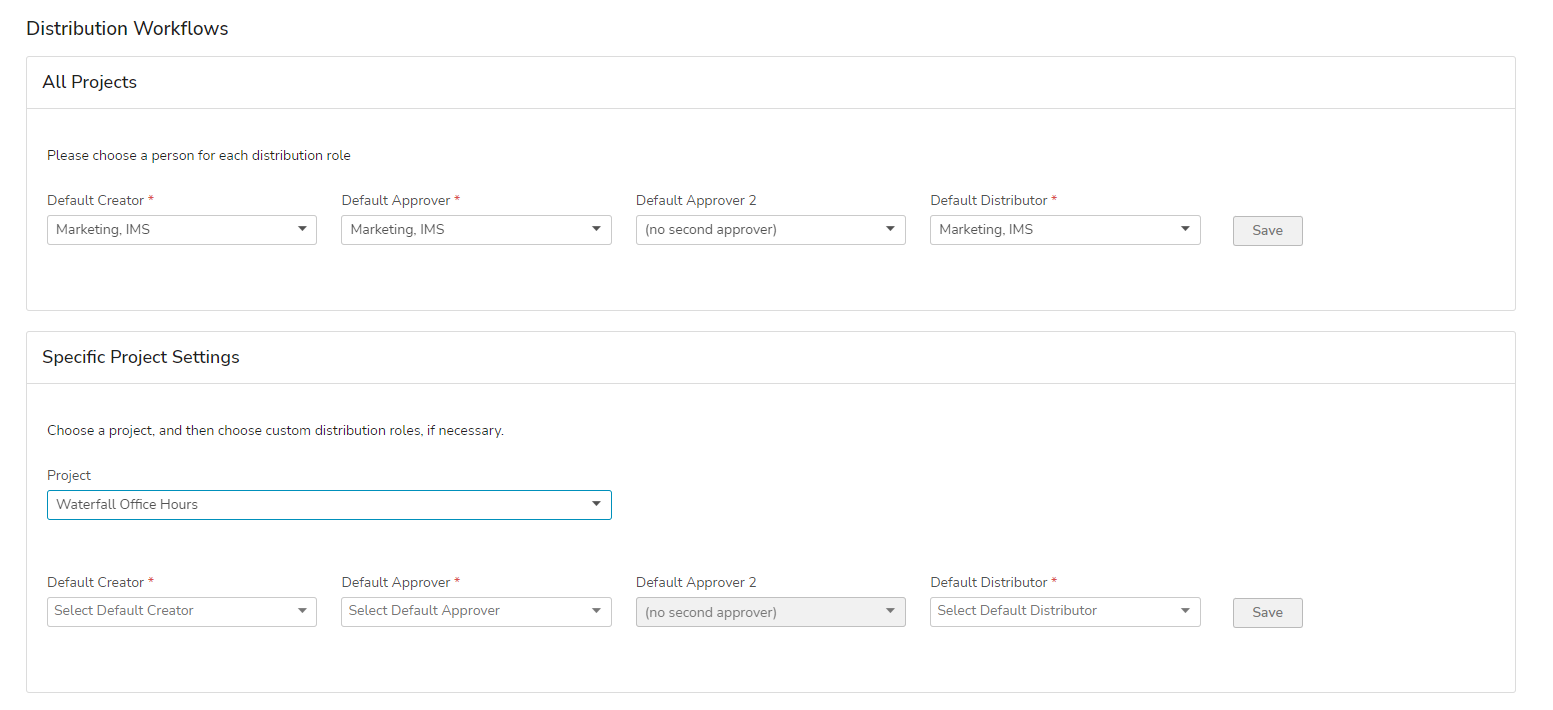
2. Once under Admin Settings, navigate to Distribution Workflows.
From here, you will see the various roles of the distribution workflow. Each of these roles must belong to an Admin Team Member in IMS.
- Default Creator - The primary creator of the distribution batches.
- Default Approver - The team member that will be responsible for approving distribution batches.
- Default Approver 2 - This role is not required but allows for multiple approvers of the distribution batches.
- Default Distributor - The team member that will be responsible for distributing batches as well as exporting NACHA files.
You are also able to set each of the roles above on a project-by-project basis under the Specific Project Settings.
After your Distribution Workflows are configured properly, you will want to check your distribution emails. You can do this by following the steps below:
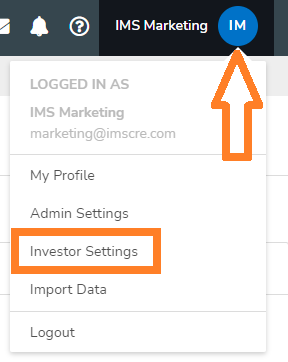
1. In the top right corner, select your name to bring up profile and settings and Investor Settings:
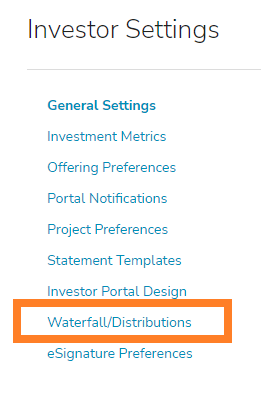
2. Once under Investor Settings select Waterfall/Distributions:
3. Select how you would like distribution emails to be sent. For additional information, hover your mouse over the information icon. You will have the three options below:
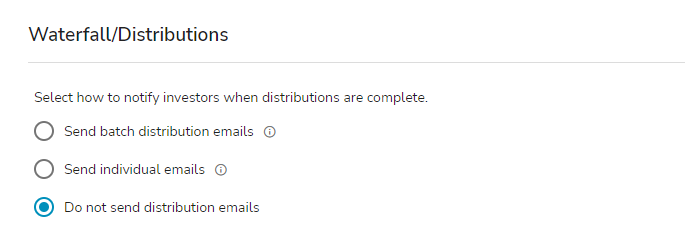
Once the notification settings have been configured to your liking, you are ready to run your distribution batch.
Step 1: Under the Projects menu – choose Project List then navigate to your desired project and entity. Select the Distributions tab.
Step 2: Select Run Waterfall Distribution:
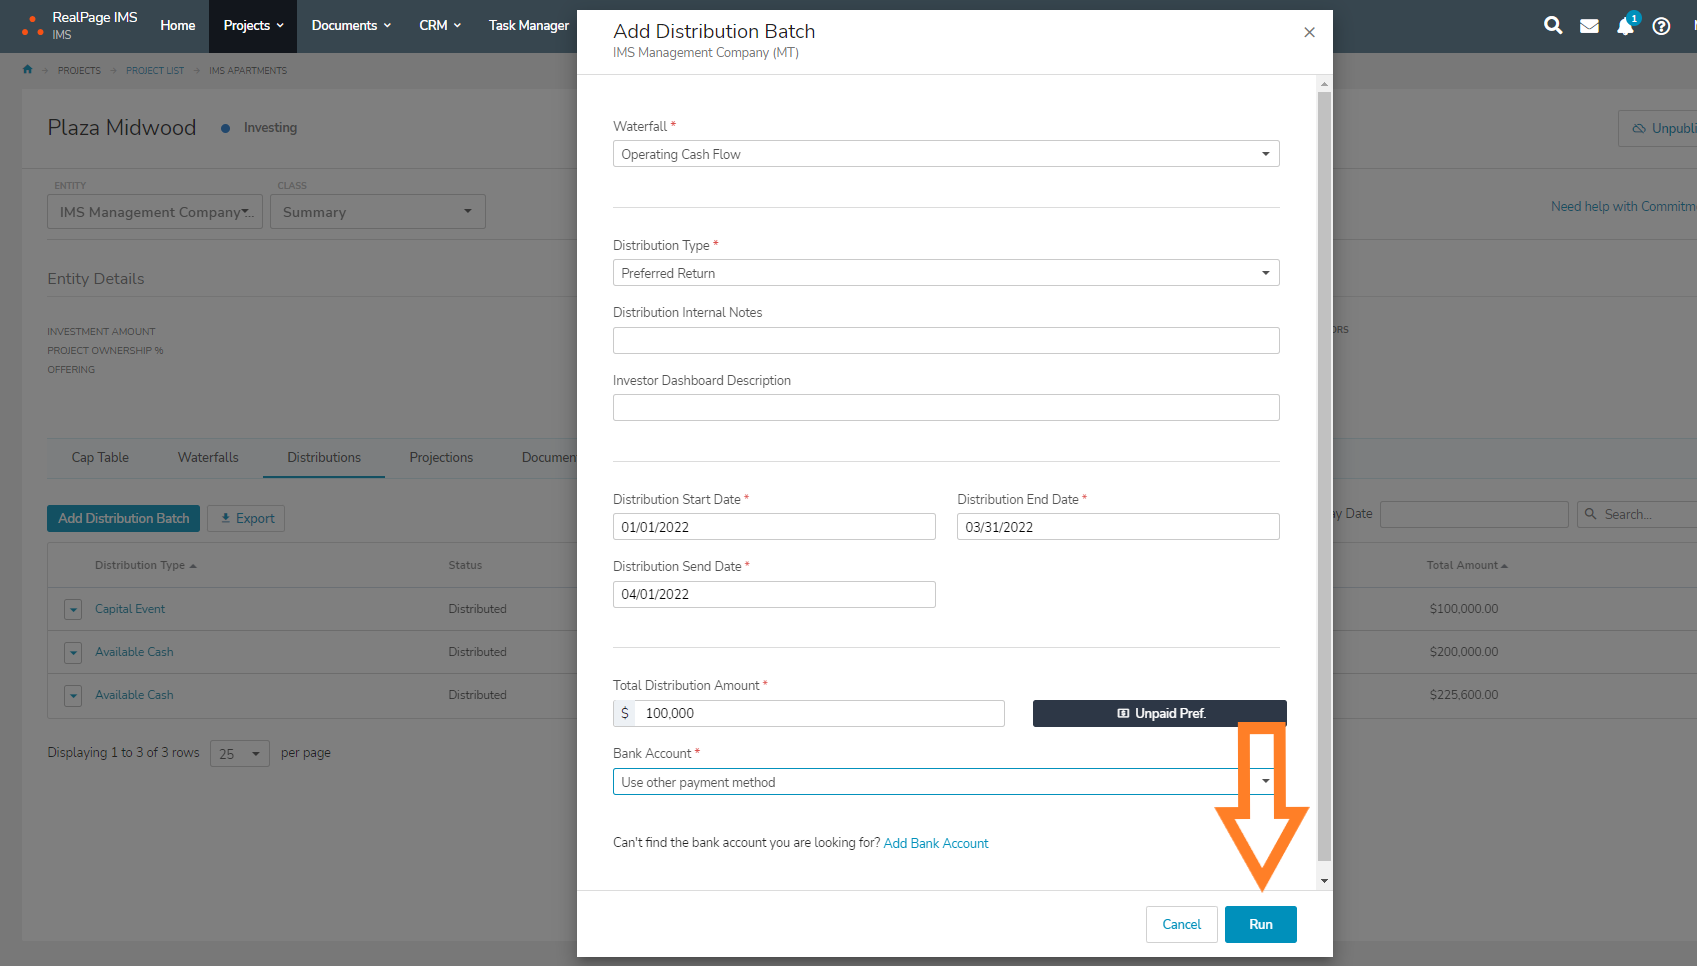
Step 3: Complete the required fields (any field noted with a red asterisk). Optional fields include Distribution Internal Notes (viewed only on the Sponsor side) and Investor Dashboard Description (viewed on the Investor Dashboard). Feel free to use the Unpaid Pref calculator. There is also an option to add a Bank Account if the desired bank account is not loaded in the system yet. There must be a bank account associated if you wish to export a NACHA file for your bank. Select Run:
Step 4: You will see the distribution results at the top. You may see a Distribution Out Of Balance warning as shown below. You can either Reduce Total Distribution Amount or Make An Adjustment to fix this issue. In this example, I will click Reduce Total Distribution Amount. All individual distribution amount details will be shown in the columns towards the bottom. The Make An Adjustment button will show a pop-up window where you can select the amount and which investors to adjust: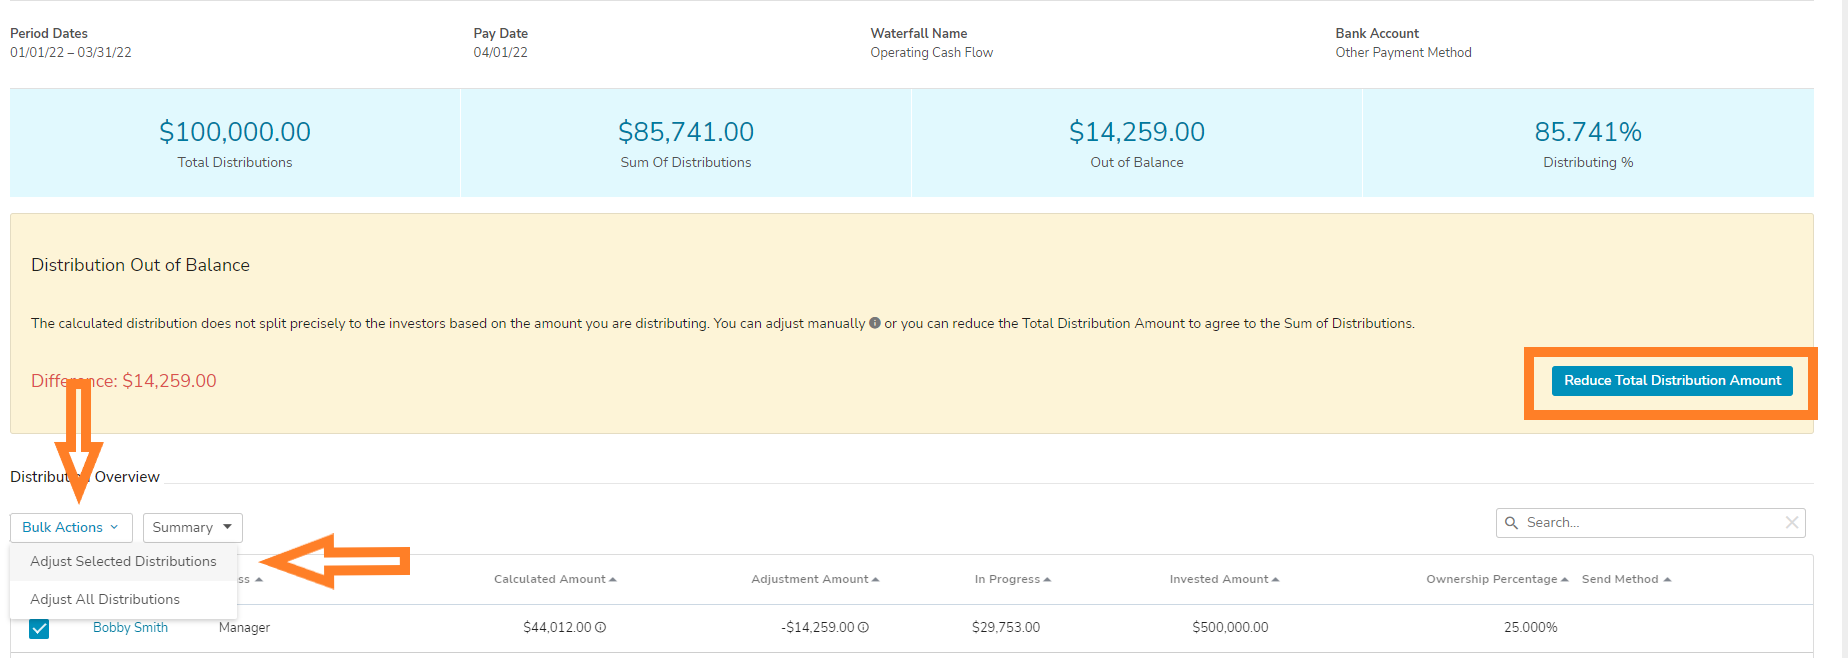
Step 5: After looking at the distribution details and you decide there are no issues, click Send for Approval. This will begin the Distribution Workflow process. Note the Export option which will allow you to Export Distribution or Export Waterfall Audit: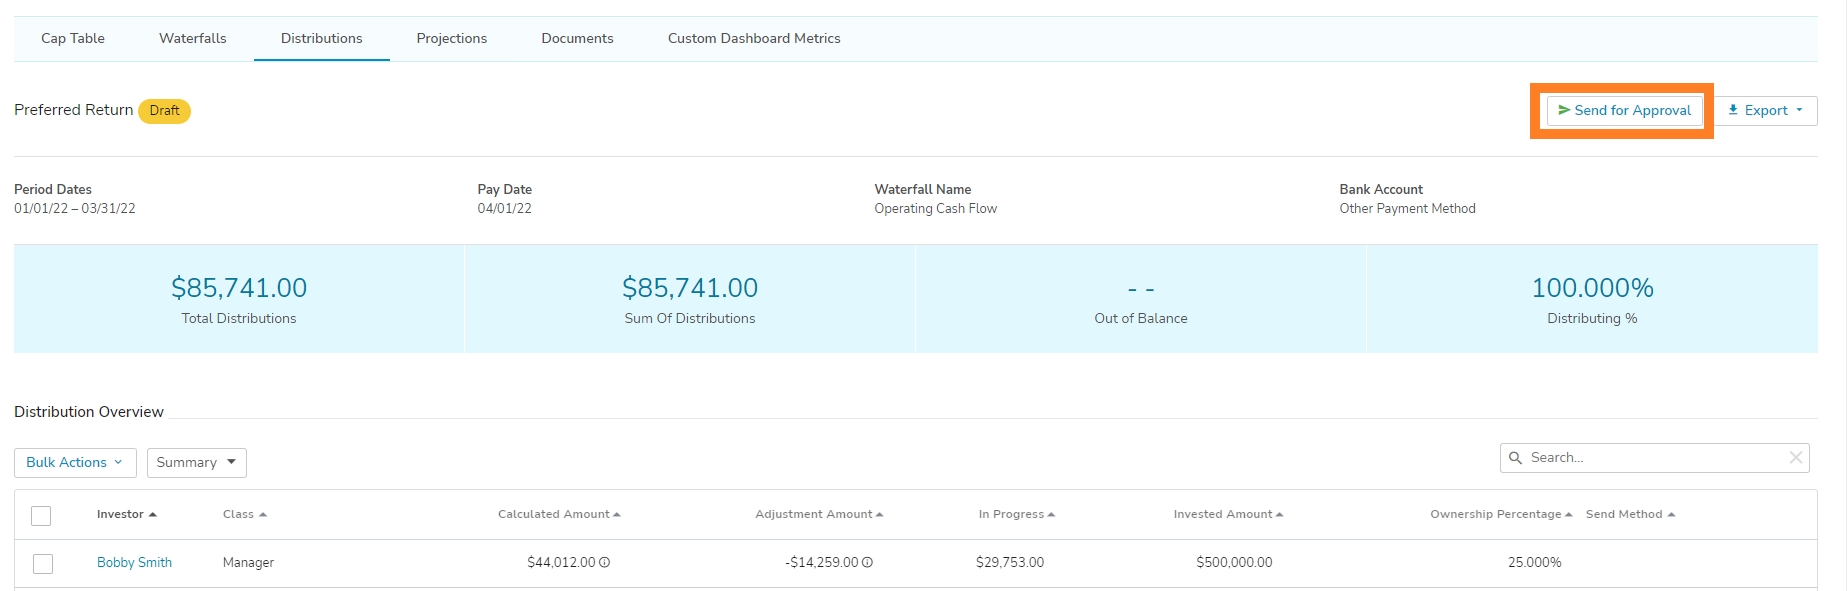
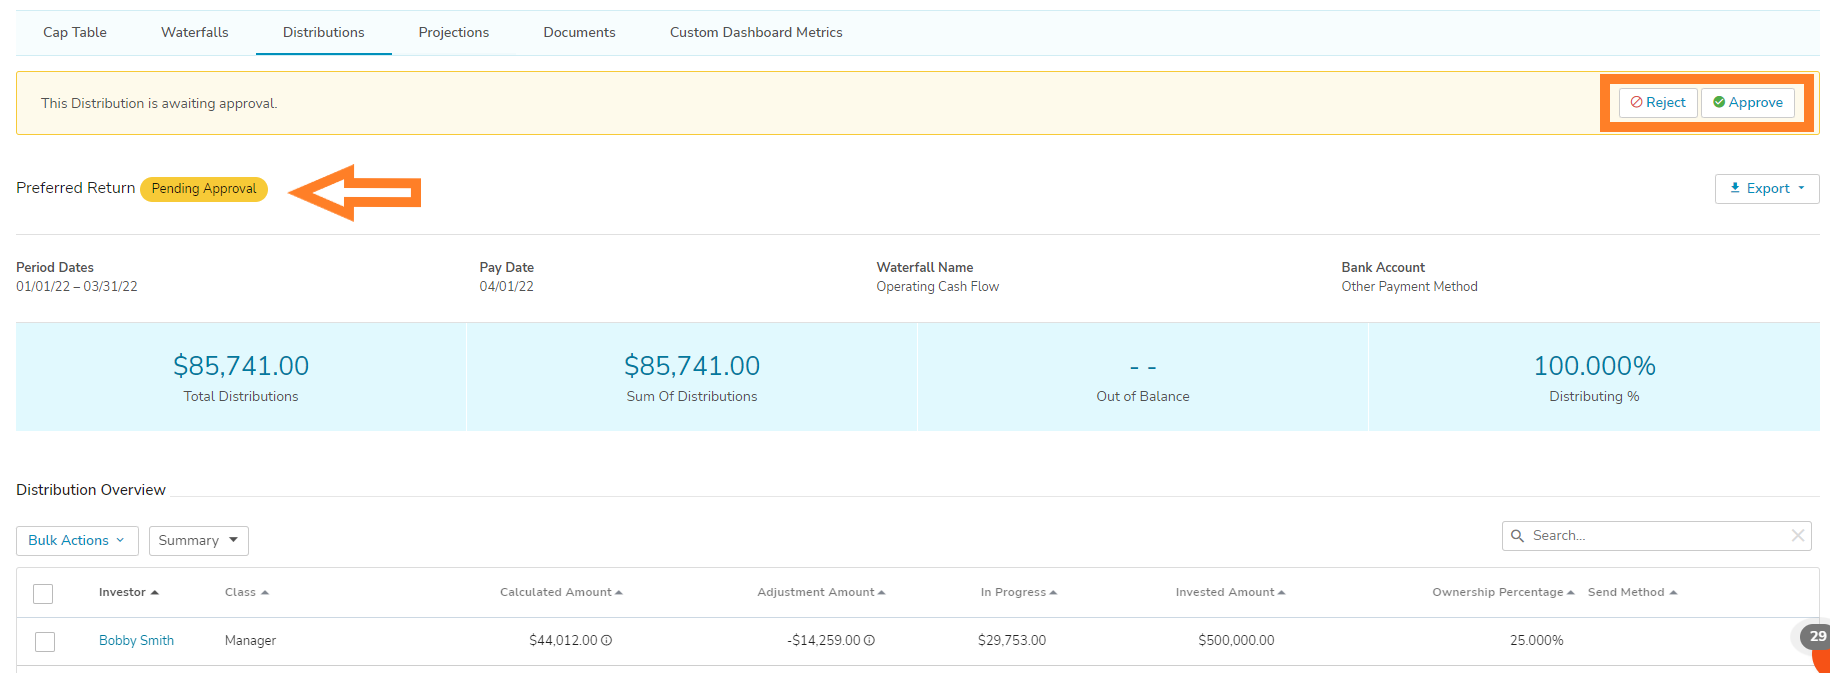
Step 6: To go through the Distribution Workflow process, the approver(s) will either Reject or Approve the distribution batch:
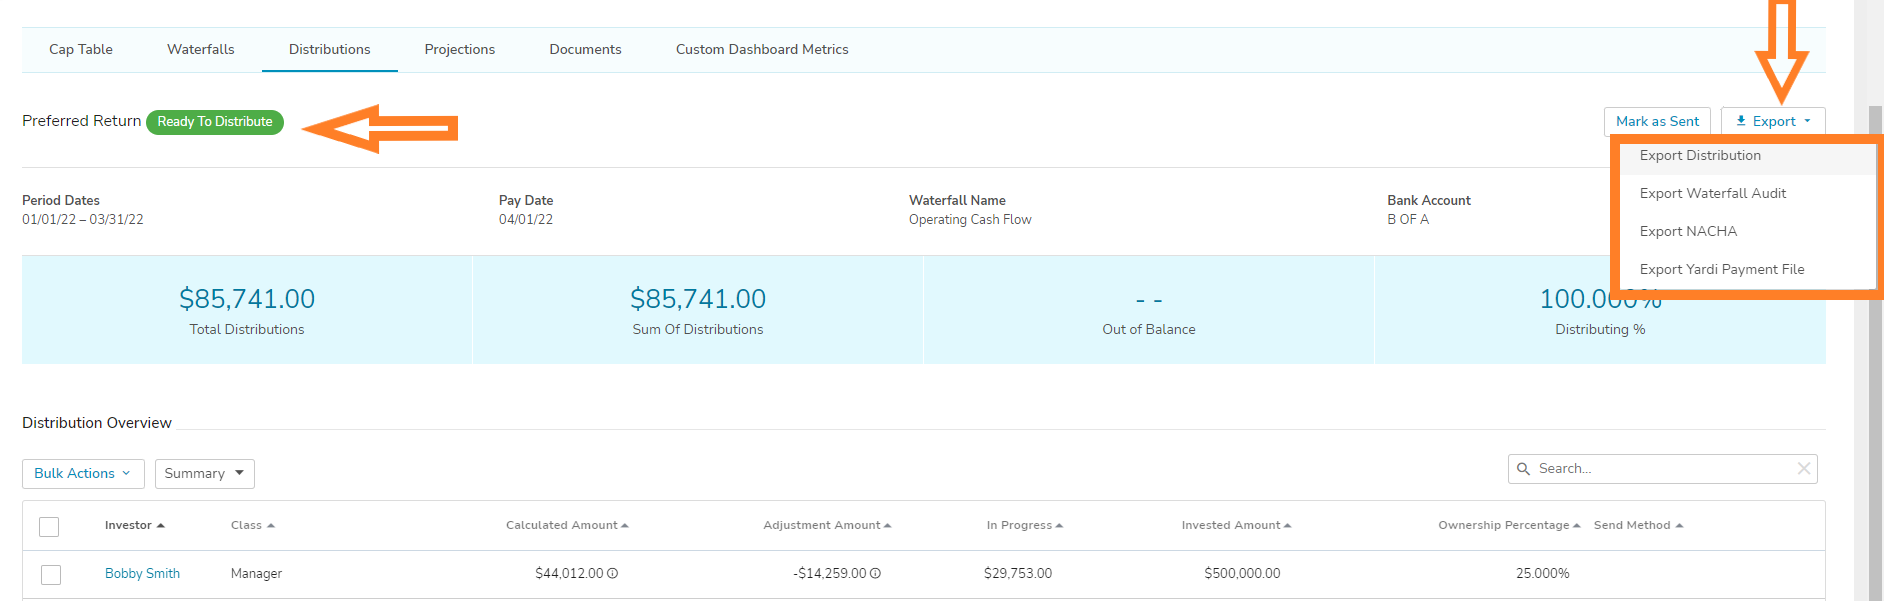
Step 7: After the Distribution Workflow process has been approved, the user may want to Export Distribution, Export Waterfall Audit, and/or Export NACHA file(s):
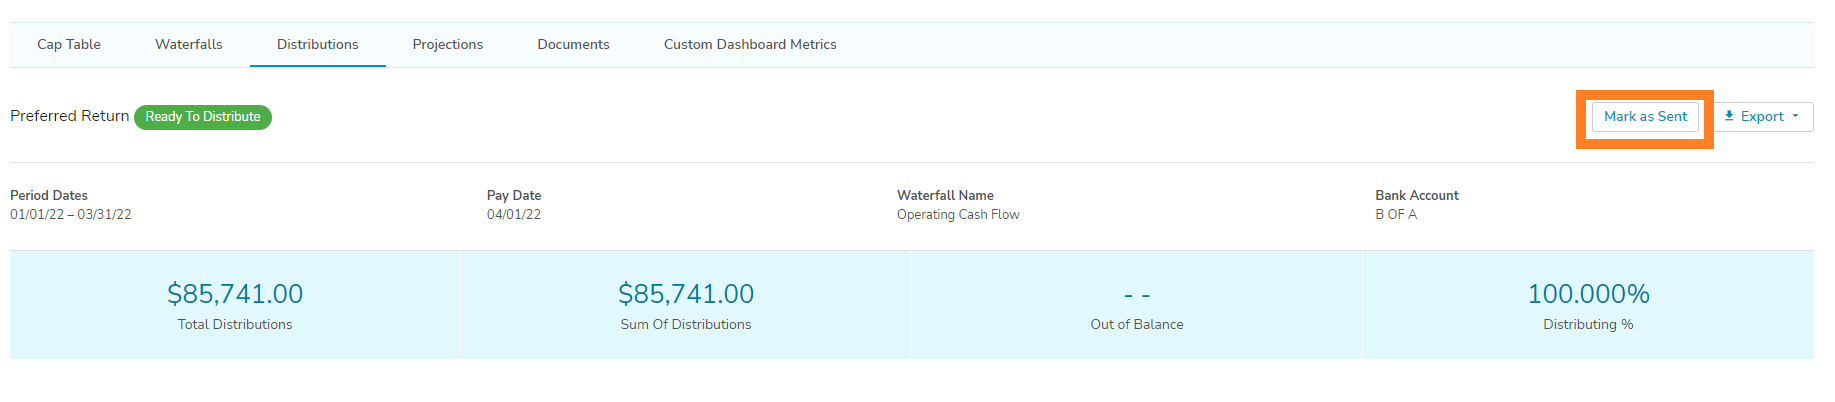
Step 8: Once the NACHA file has been sent to the bank (if applicable), you can click Mark as Sent to label that batch as sent:
You will see the status change to Distributed: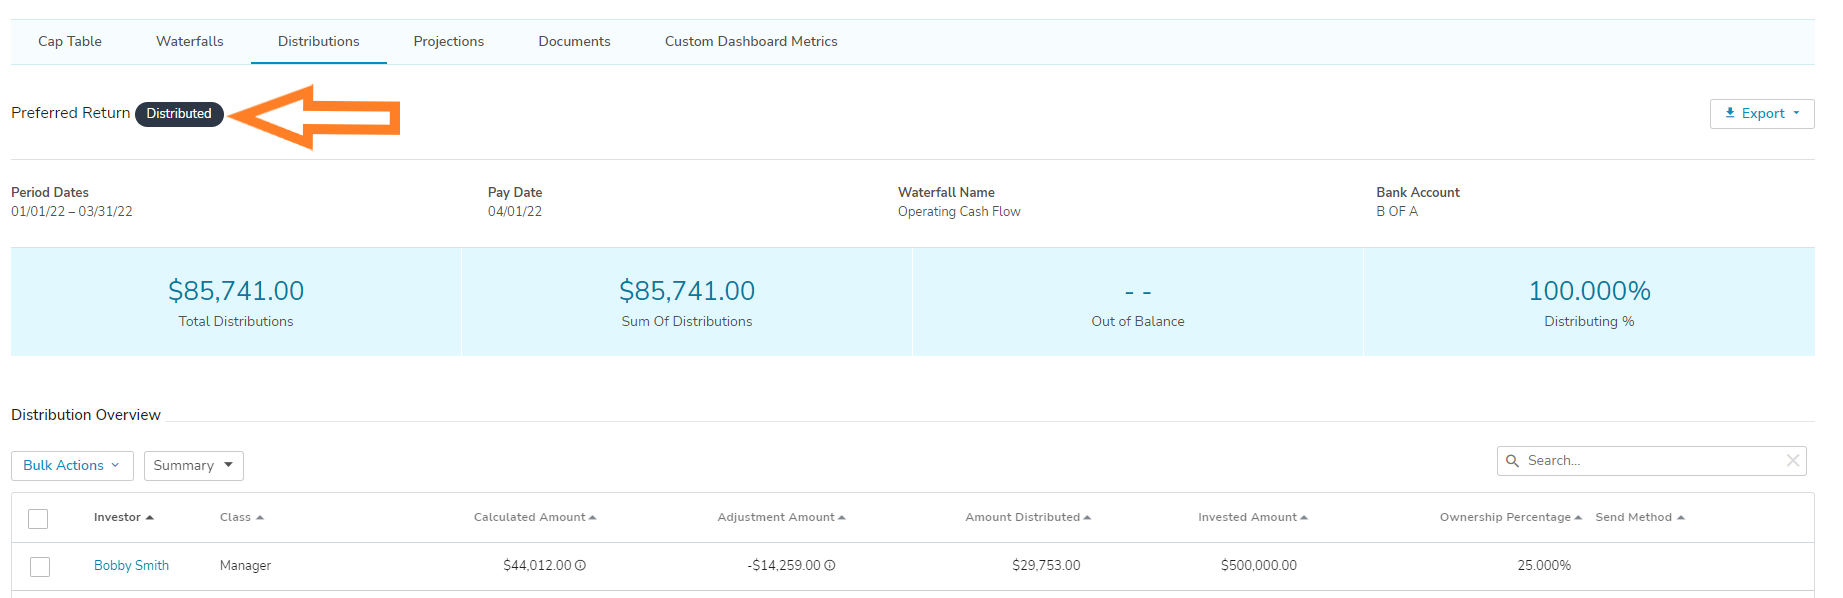
Once a distribution batch is marked as “Distributed”, it is now visible on the Investor Dashboard: